Here’s how I run multiple backends 24x7 for free from my own machine
As a backend or full stack developer, you might have gone through the phase where:
- AWS needs a credit card
- Railway is only free for 30 days
- Render puts your APIs to sleep
As a student, I was stuck. I couldn’t afford subscriptions, and there was no reliable free platform to host my backend projects.
Free hosting platforms are convenient, but they come with limitations:
- Backend goes to sleep
- Limited trial usage
- Credit card requirements
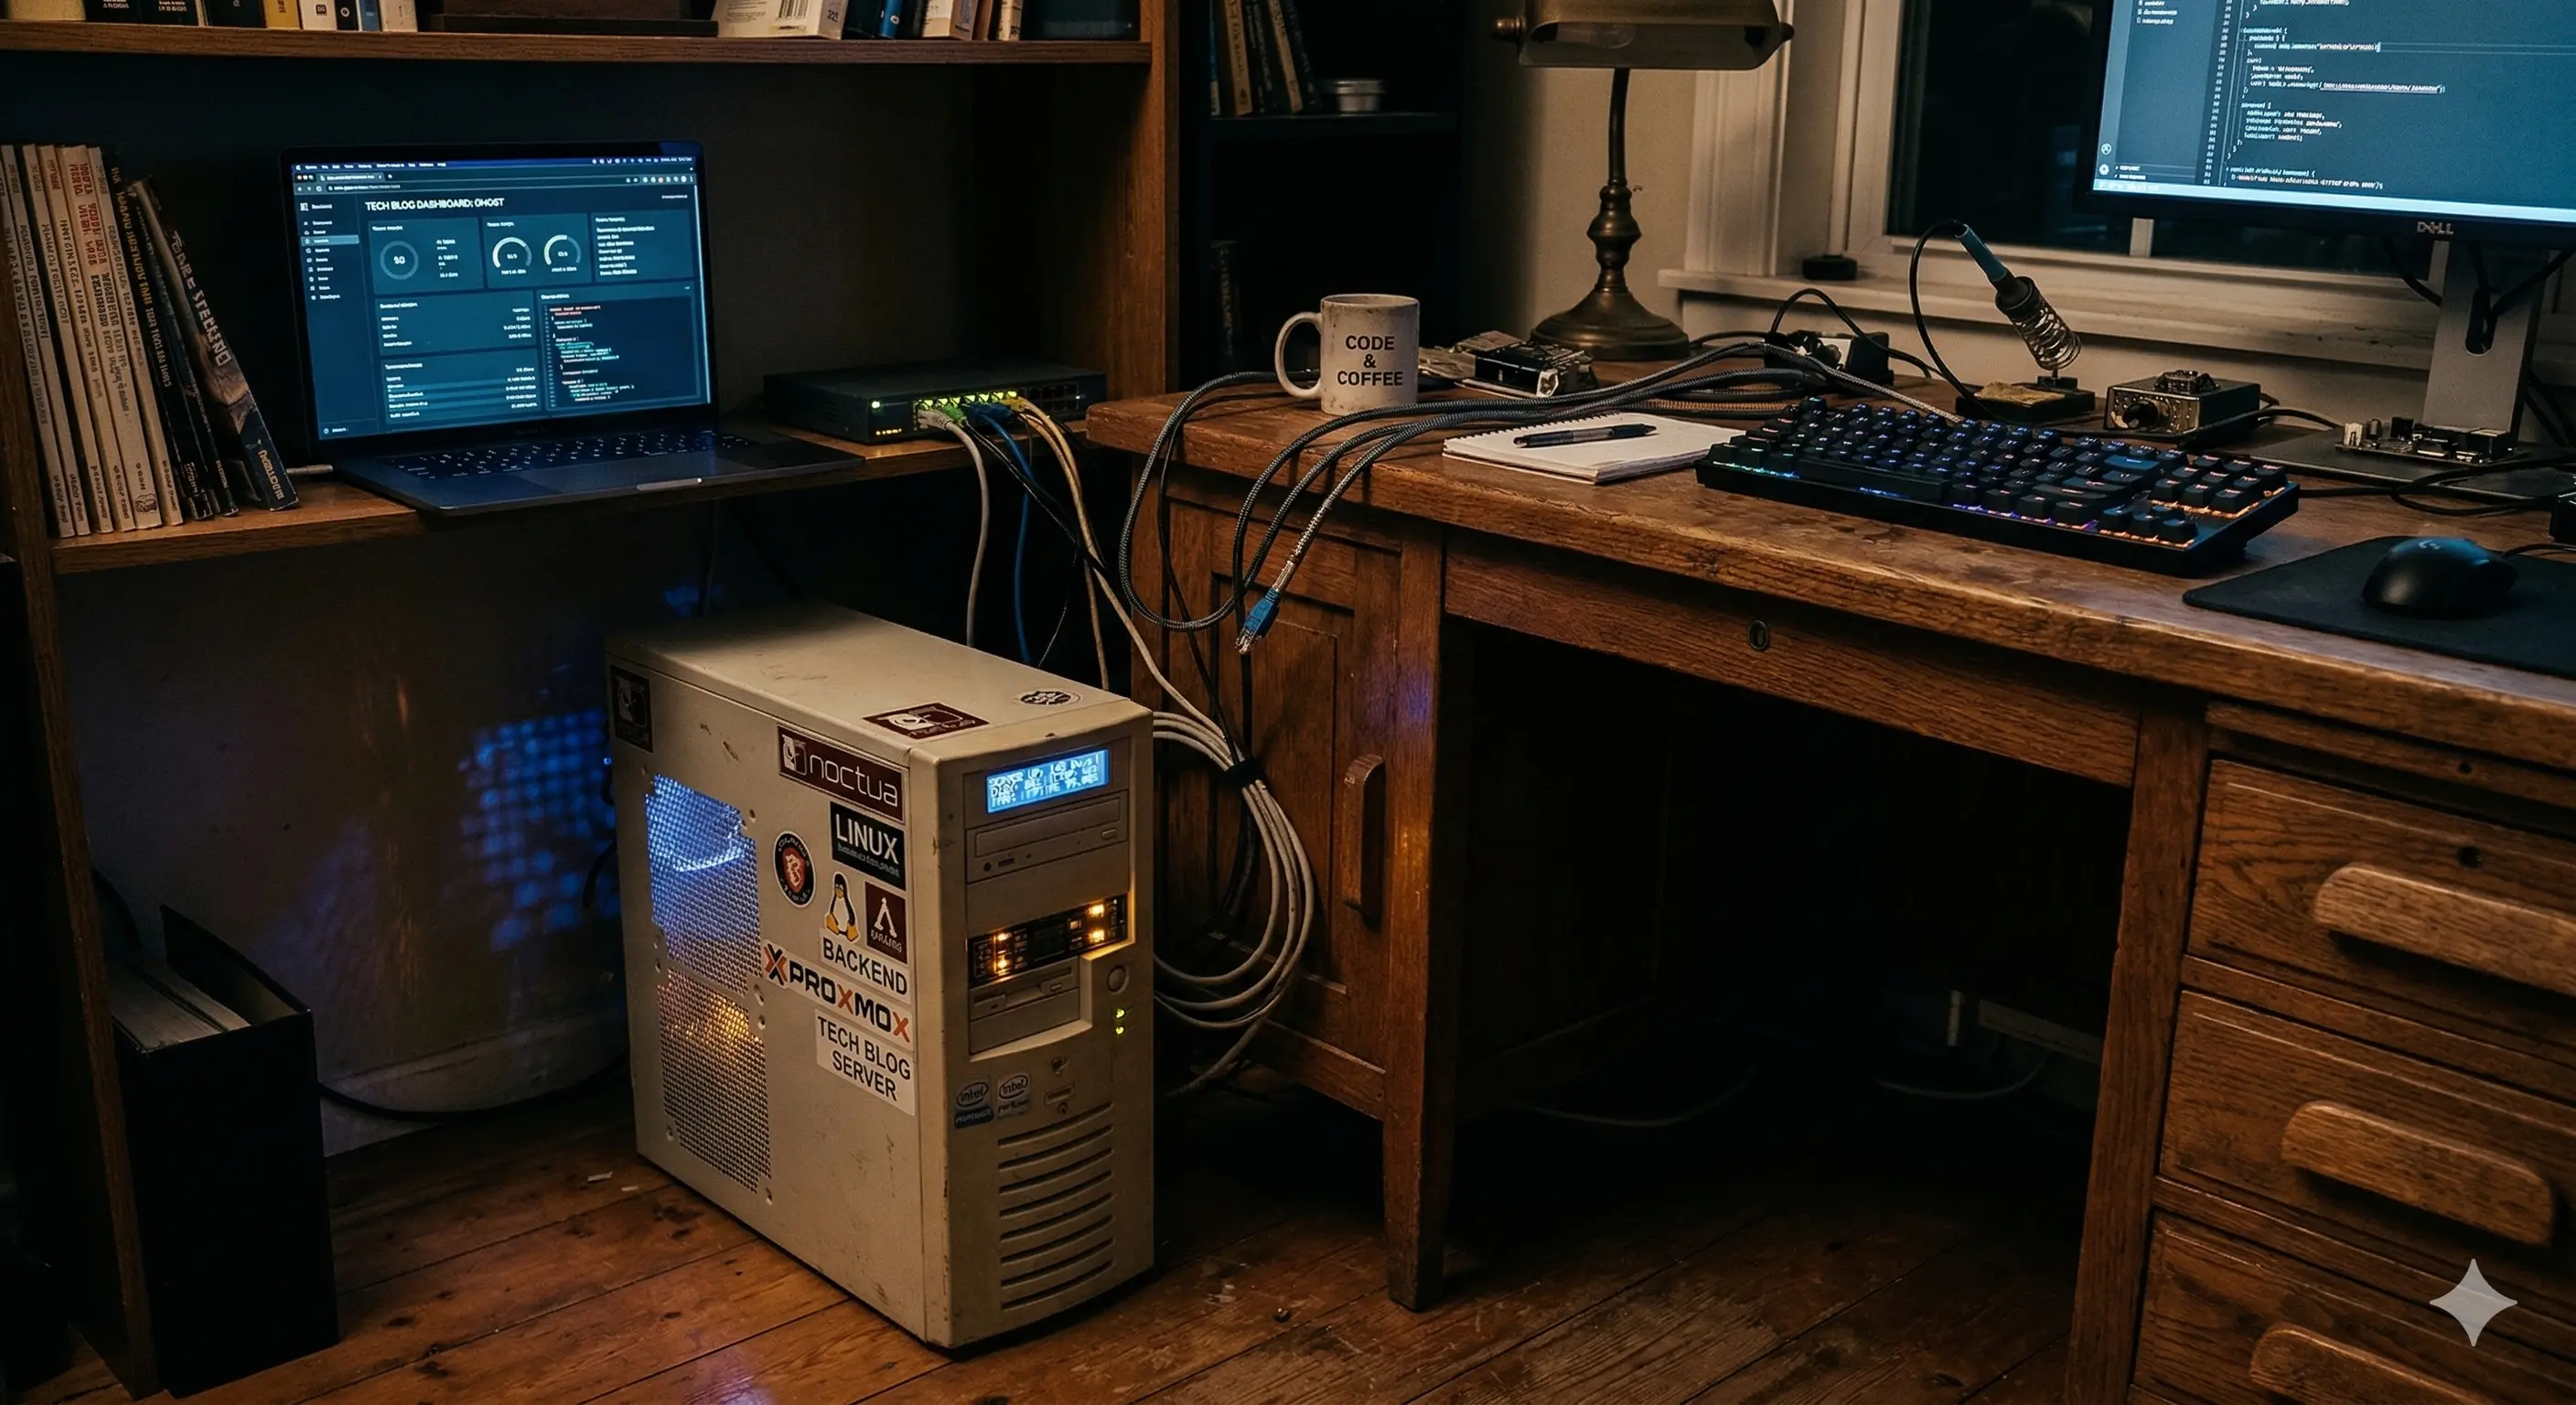
Then I looked at my 12-year-old PC, sitting in dust—and realized:
Your backend doesn’t need Render, Railway, or even AWS. All you need is an old PC or laptop.
Now I run multiple backends 24/7 on a headless server—completely free, and yes, secure.
What you'll learn
- How to host your backend on your own PC/Laptop
- How to expose it publicly using Cloudflare Tunnel
- How to keep it running 24/7
- How to handle real issues like power cuts and network delays
Works for Windows, Linux, and macOS.
How this works
Before implementation, here’s the architecture:
My frontend is hosted on Vercel.
Instead of deploying my Node.js backend to the cloud, I run it locally on my PC and expose it using Cloudflare Tunnel.
Flow:
Frontend (Vercel)
↓
Cloudflare DNS
↓
Cloudflare Tunnel
↓
My PC/Laptop (localhost)
↓
Node.js backend (PM2)
Cloudflare acts as a secure bridge—no port forwarding, no public IP required.
Setting this up
Step 1: Run your backend locally
Make sure your backend works locally:
http://localhost:3000
If it doesn’t work locally, it won’t work publicly.
Step 2: Keep it alive using PM2
Instead of node, use PM2:
pm2 start app.js --name my-backend
pm2 save
PM2 ensures:
- auto-restart on crash
- auto-start on reboot
Step 3: Expose it using Cloudflare Tunnel
Install and login:
cloudflared tunnel login
cloudflared tunnel create home-server
This lets you expose your local server securely to the internet.
Step 4: Configure the tunnel
Create a config file mapping your domain to:
http://localhost:3000
Step 5: Connect your domain
- Add your domain in Cloudflare
- Configure DNS
- Connect it with your frontend (Vercel / Netlify)
Step 6: Connect frontend
Replace:
localhost:3000
with:
https://api.yoursite.com
Step 7: Make it reliable (24x7)
Problem I faced:
After power cuts:
- PC restarted
- WiFi took time
- tunnel didn’t reconnect
Solution:
- Created a retry script
- Keeps reconnecting until internet is available
Now the system is stable—even with unreliable power/network.
Problems I ran into
1. Backend worked locally but not online
Cause:
- tunnel misconfiguration
- backend not properly exposed
2. Auto-login issues (Windows)
Fix:
- enabled auto-login
- system boots directly to desktop
Now everything starts automatically.
Final setup
I currently run 5 backend servers on an old PC.
- No cloud cost
- No subscriptions
- No limits
Conclusion
This started as an experiment—but became extremely useful.
It won’t replace cloud hosting for large-scale apps, but for:
- personal projects
- student work
- prototypes
…it’s more than enough.
Sometimes, the simplest solutions are the most effective.
Tags
Technology • Web Hosting • DevOps • AI